
Bread is one of my favorite things to make. I love how such simple and basic ingredients make something so good. Since the ingredients are simple most of bread making is all about the technique. I posted my favorite sandwich bread a couple months ago titled Simple Sandwich Bread. This is one of my favorite artisan loafs to make. You can use it for gourmet sandwich bread or serve it with a meal.

I originally got this recipe from my sister-in-law. She made it a couple times when I was around and I was sold. I think this recipe and a few others helped get me into making bread. You can check her blog out at http://yosoyvegan.wordpress.com/
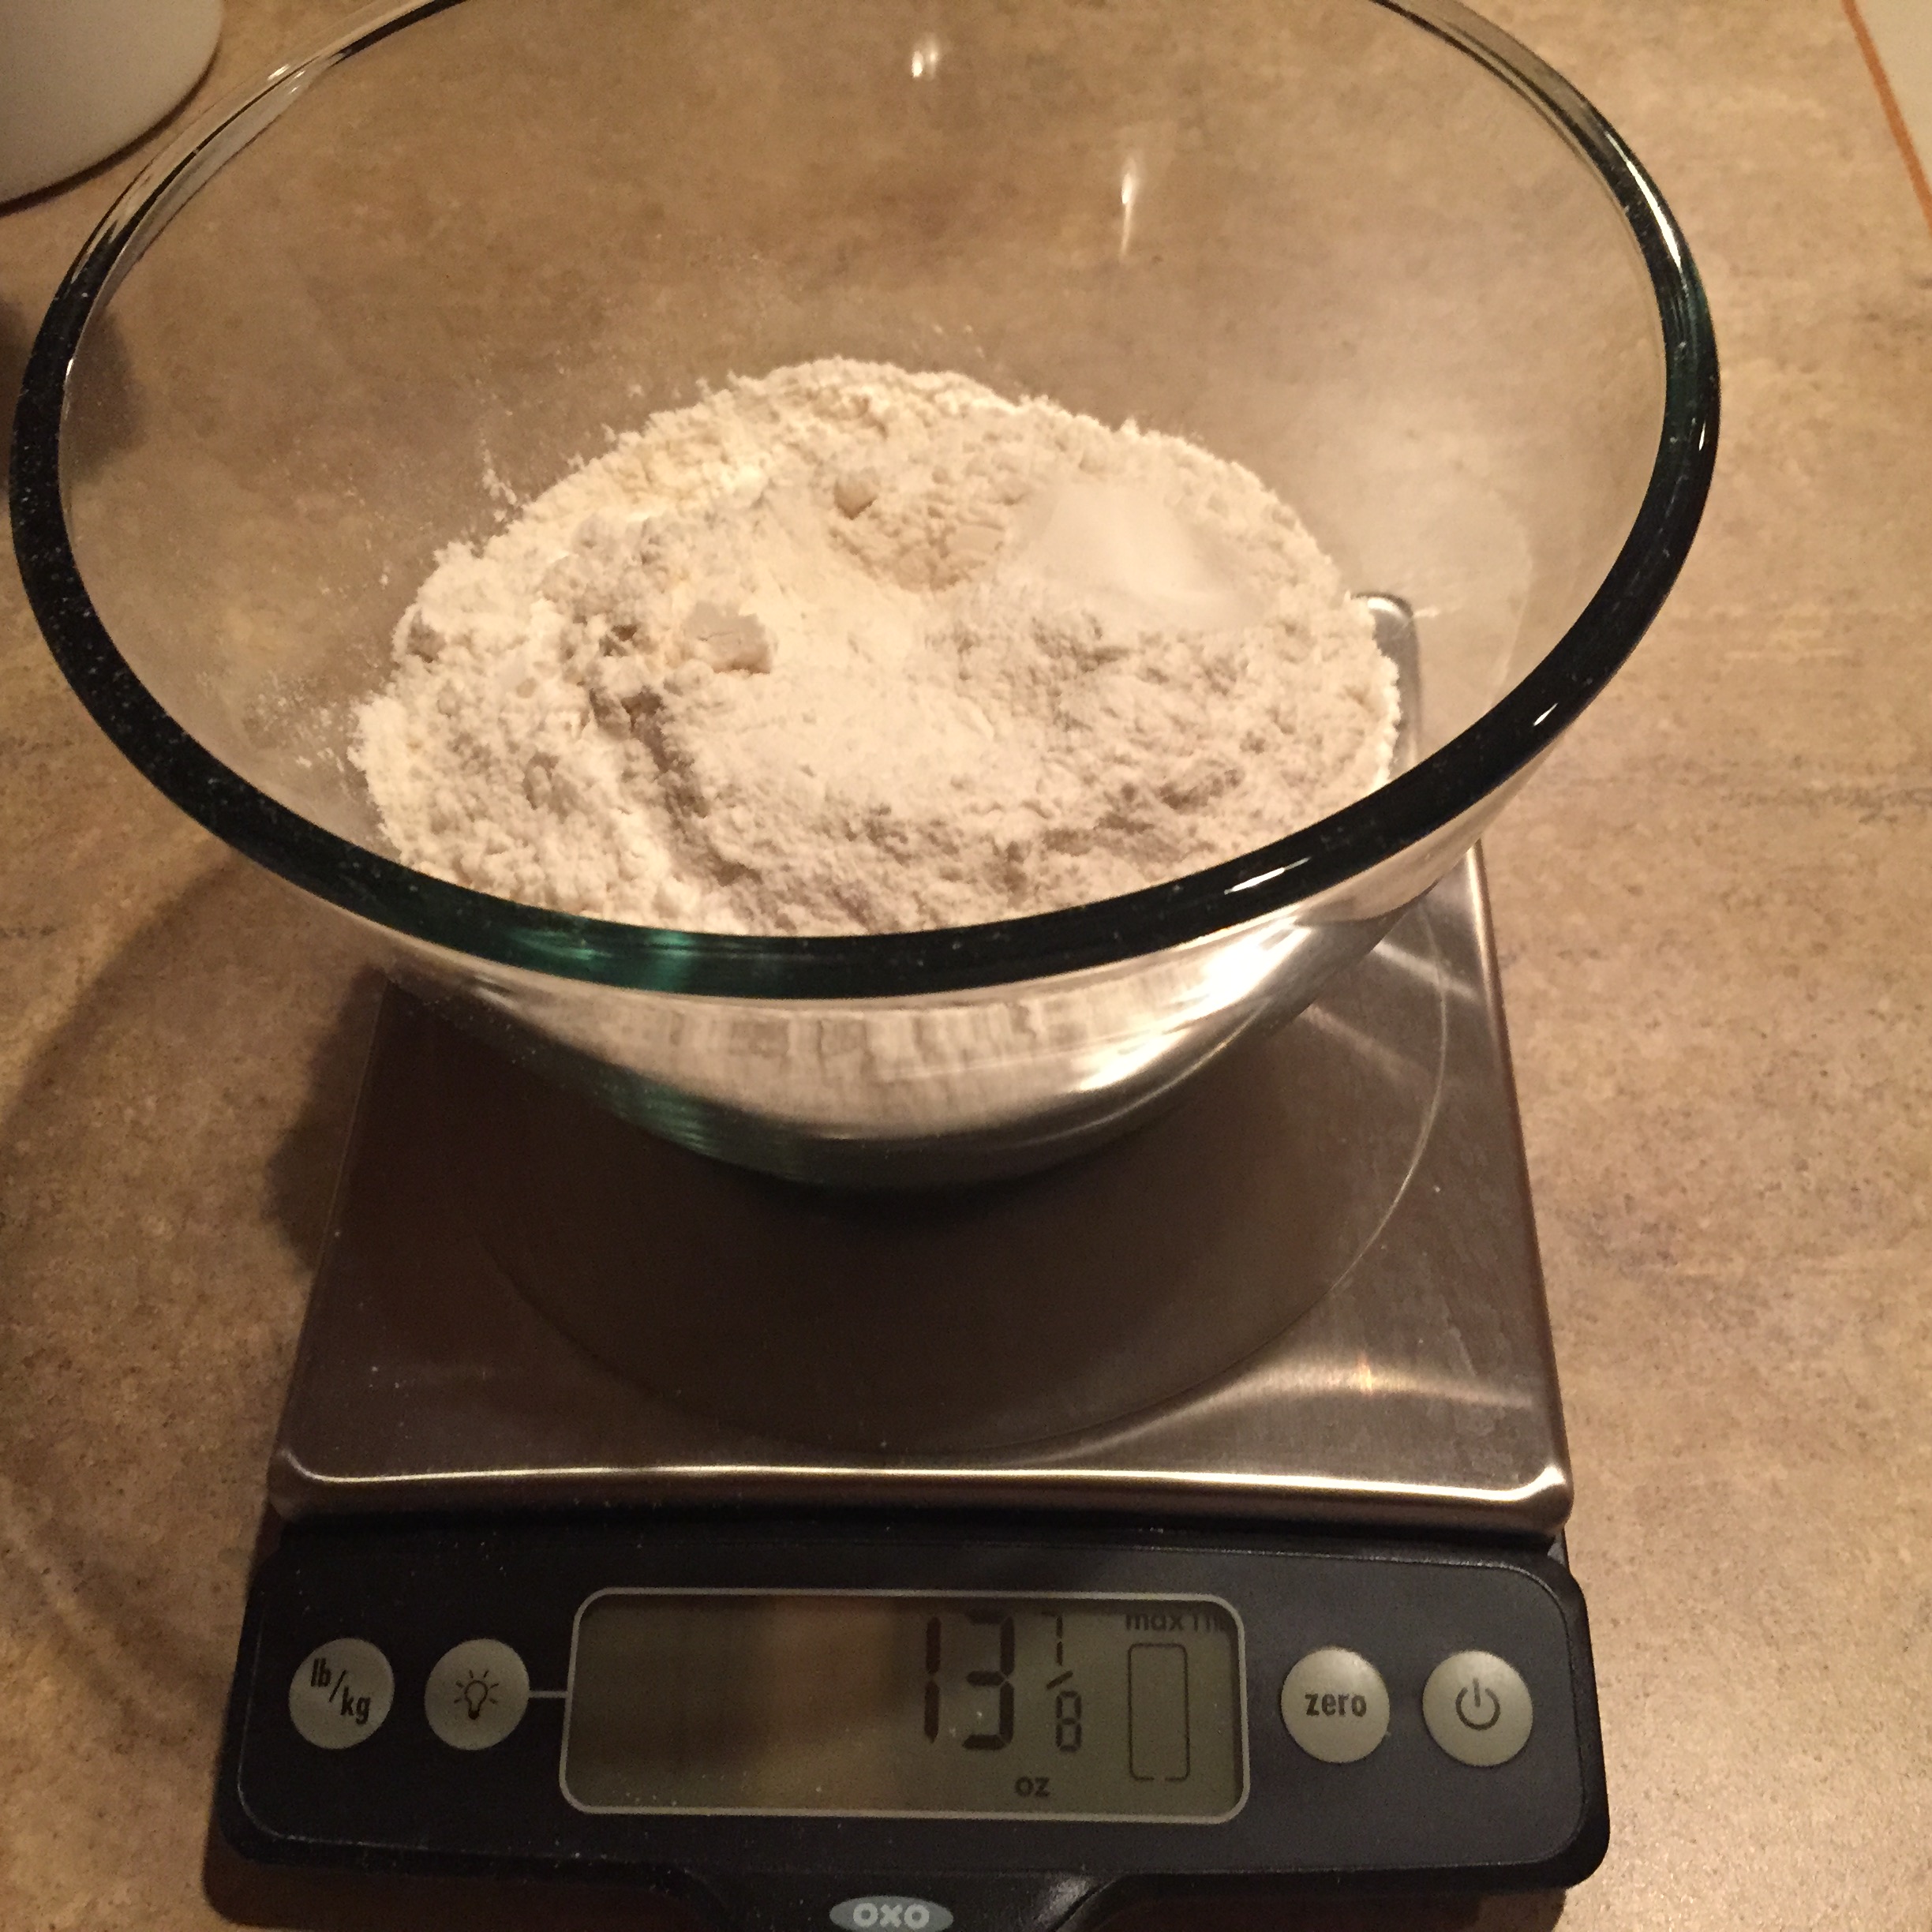
I can’t stress this enough but measure your flour if at all possible. I know I mention it in every post but its important when your working with flour because depending on how compacted the flour is one cup can vary significantly. The only time I don’t weigh flour is when I’m using a cup or less just because I’m being lazy.
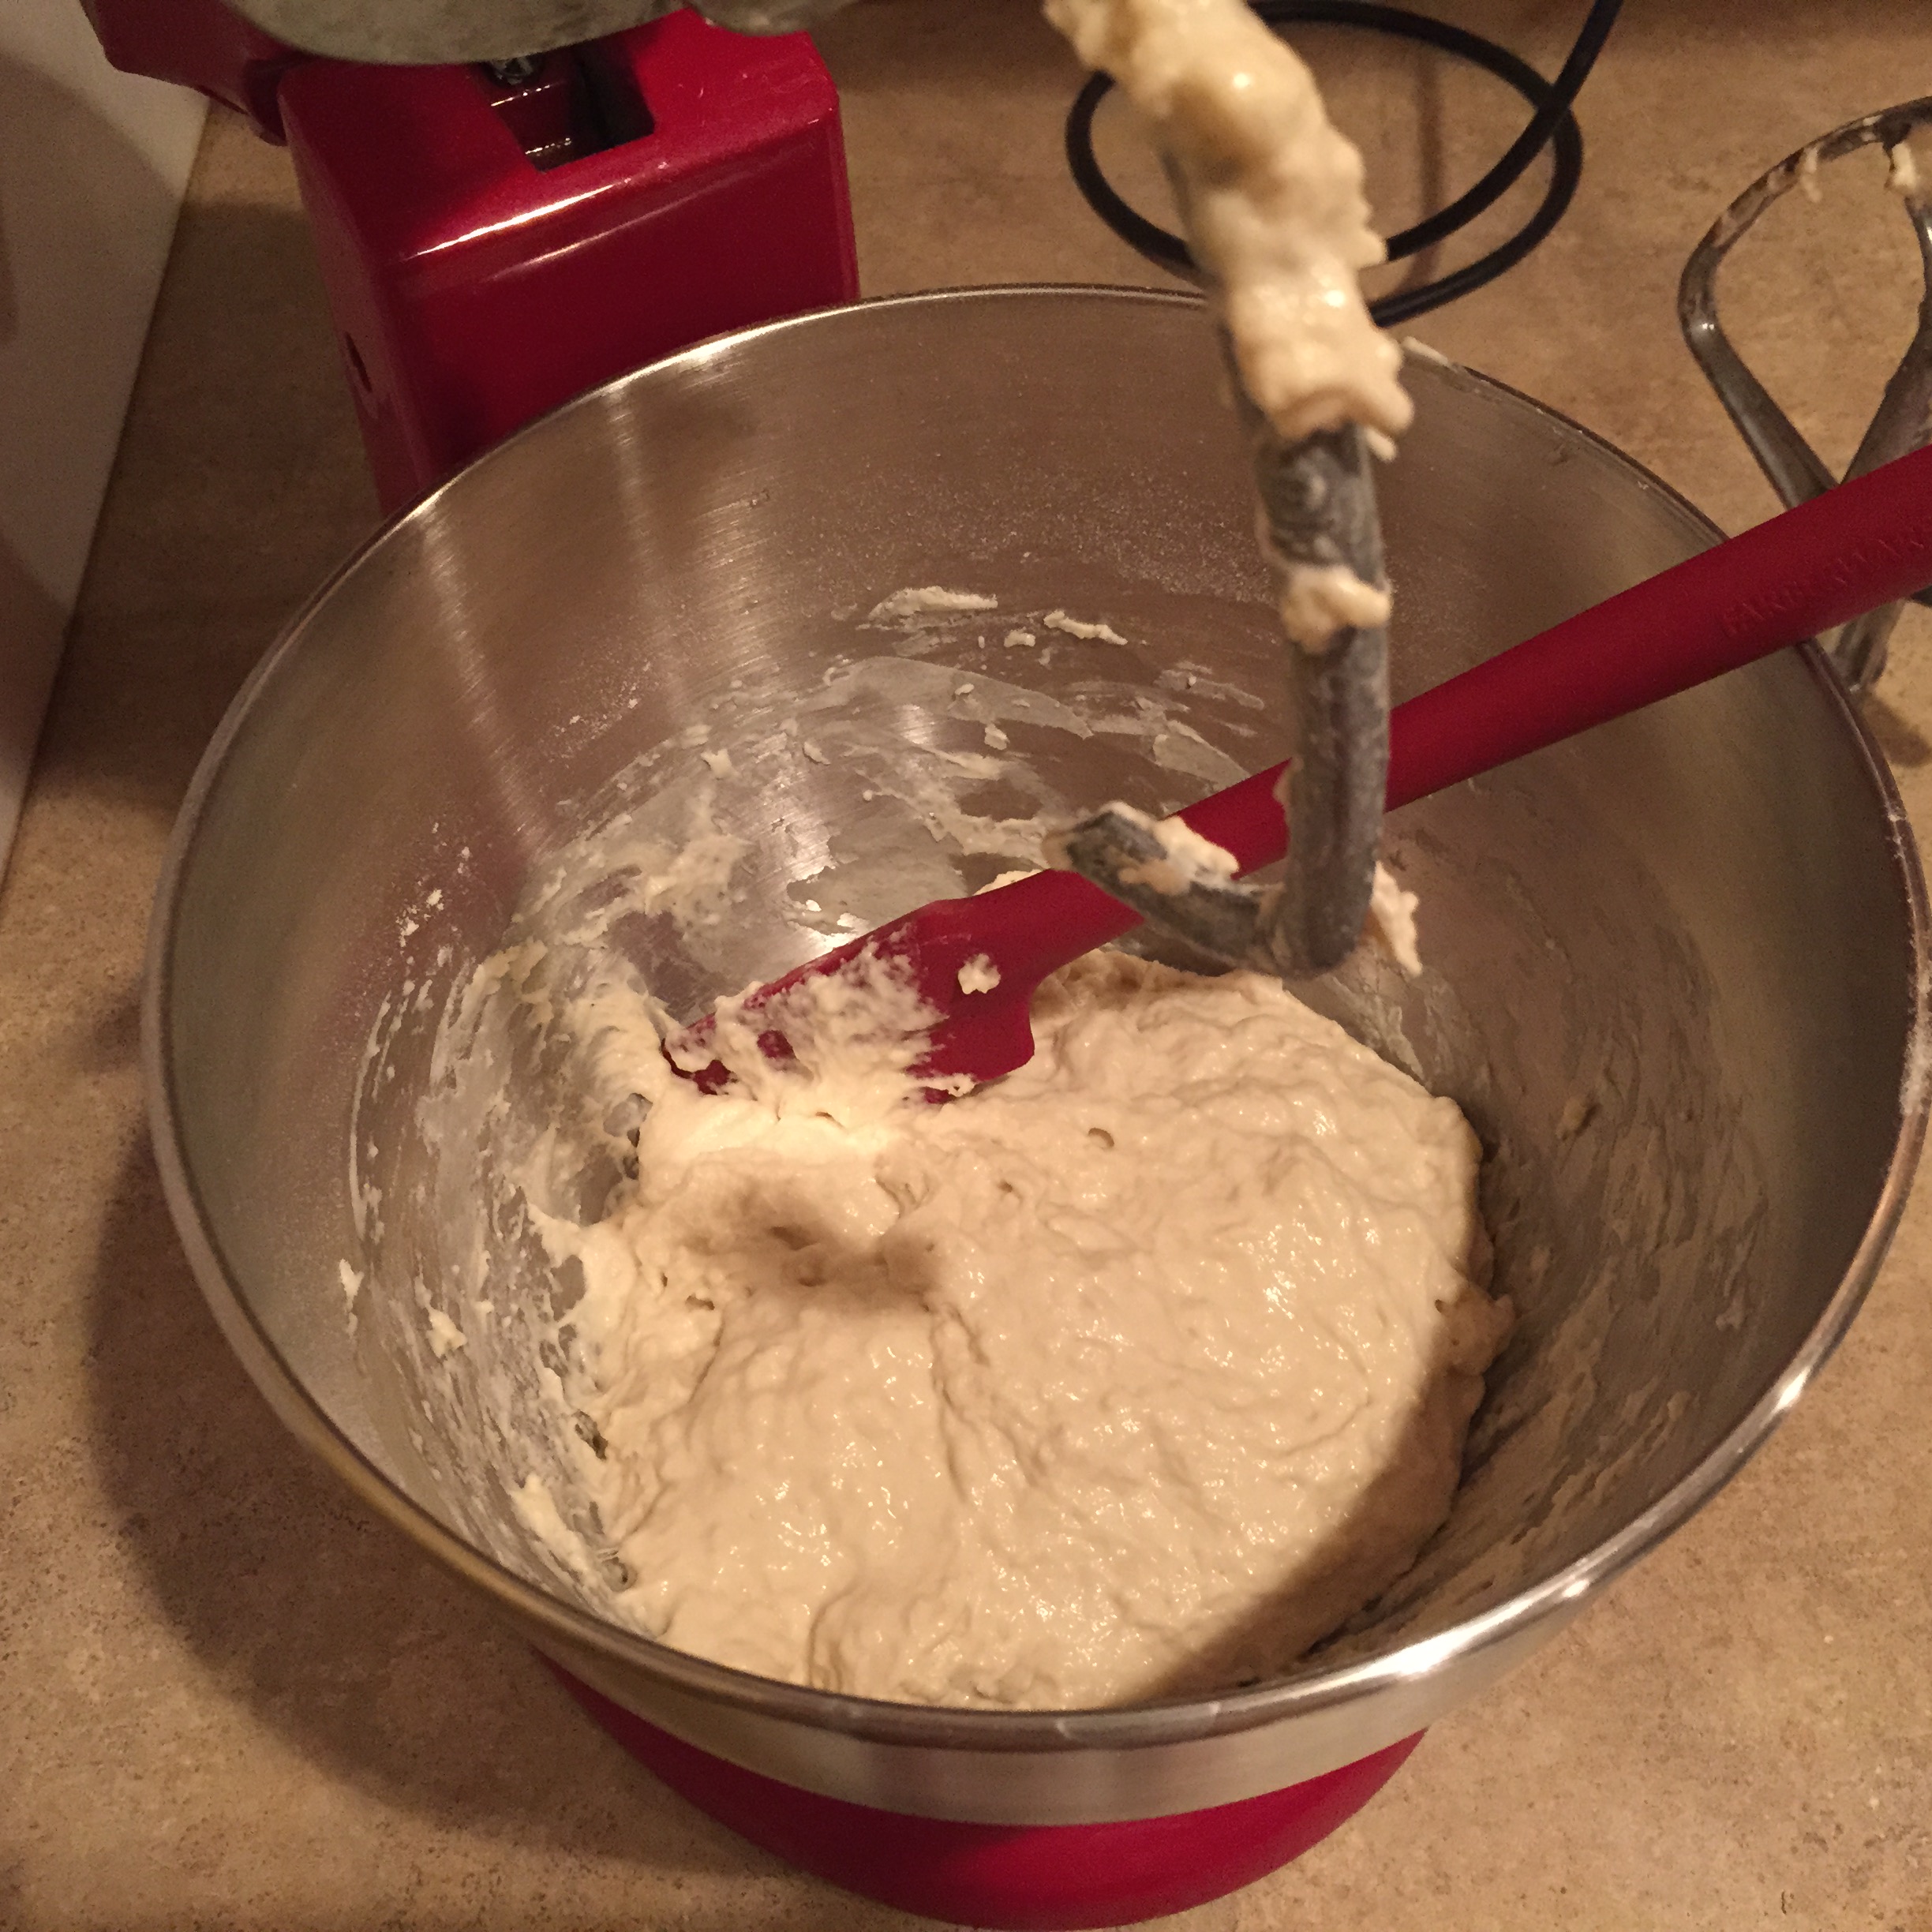
I’m big on using my stand mixer when I make bread. Even though this bread doesn’t have to be kneaded it just speeds up the process and keeps you from having to mix the dough by hand.
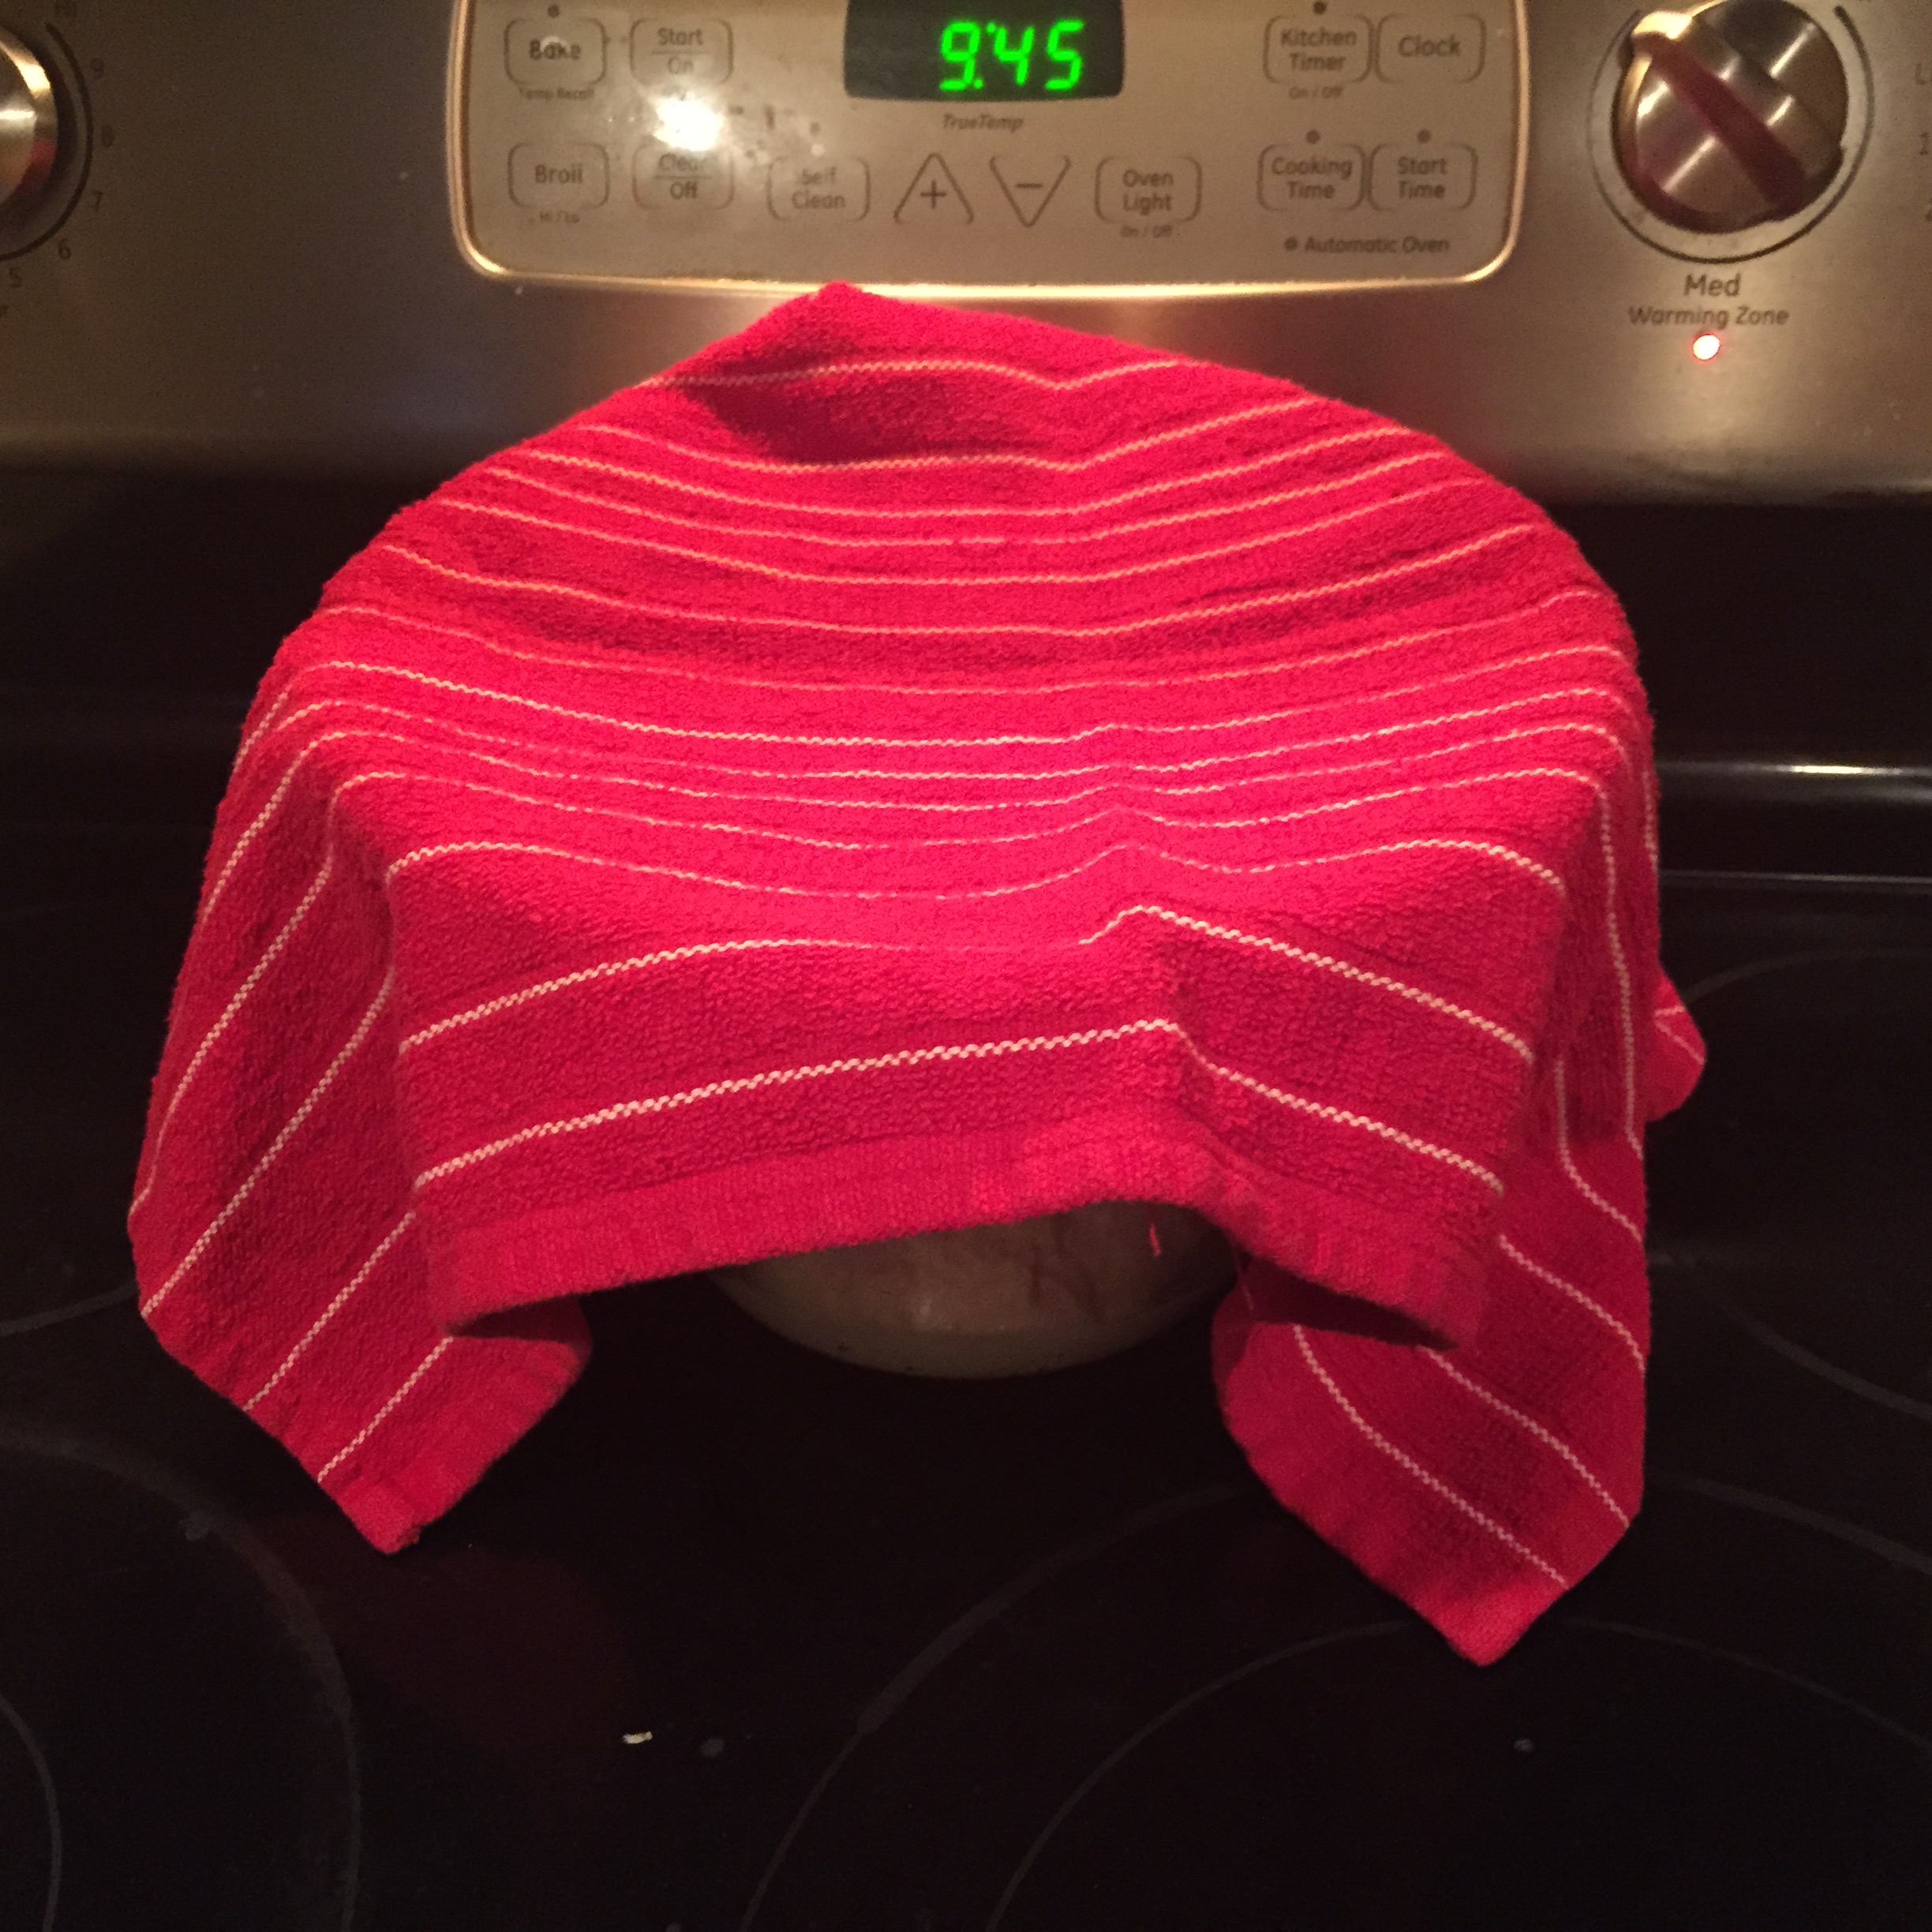
I like to use the warming element on my stove for bread rising. Depending on the time of year the temperature in your house can vary a good bit and that can effect bread rising a lot. So by using the the warming element on its lowest setting, it gives you a consistent rising temperature. The warming element on the low setting should barely give any heat; it should just feel slightly warm to the touch.
This recipe can be easily doubled but I usually just like to keep it to two loaves. Fresh homemade bread is best the day you make it and the immediately following days so making too much bread will make it hard to eat it all in time.

The cooked loaves do freeze nicely though if you put them in a freezer bag right after they cool. Ideally you want to freeze them right then so you preserve as much of the freshness as possible.

If this is your first time making bread or a bread like this, I would strongly recommend you skip the pizza peel and baking stone as this technique takes some practice to get it right and can be frustrating at first. Instead you can just put parchment paper on a baking sheet and put the loaves on that for baking. The bottom of the loaves won’t be as crispy but it will still be really good; I do this when I’m feeling lazy.

Many of the recipes for this bread tell you to take it out well browned but I like to pull the bread when it is more golden. The crust is still firm but not overly crunchy.

This bread goes great with pasta or the bigger pieces can make great gourmet sandwich bread. You can serve this bread as an appetizer with pesto, hummus, or my quick dipping sauce below.
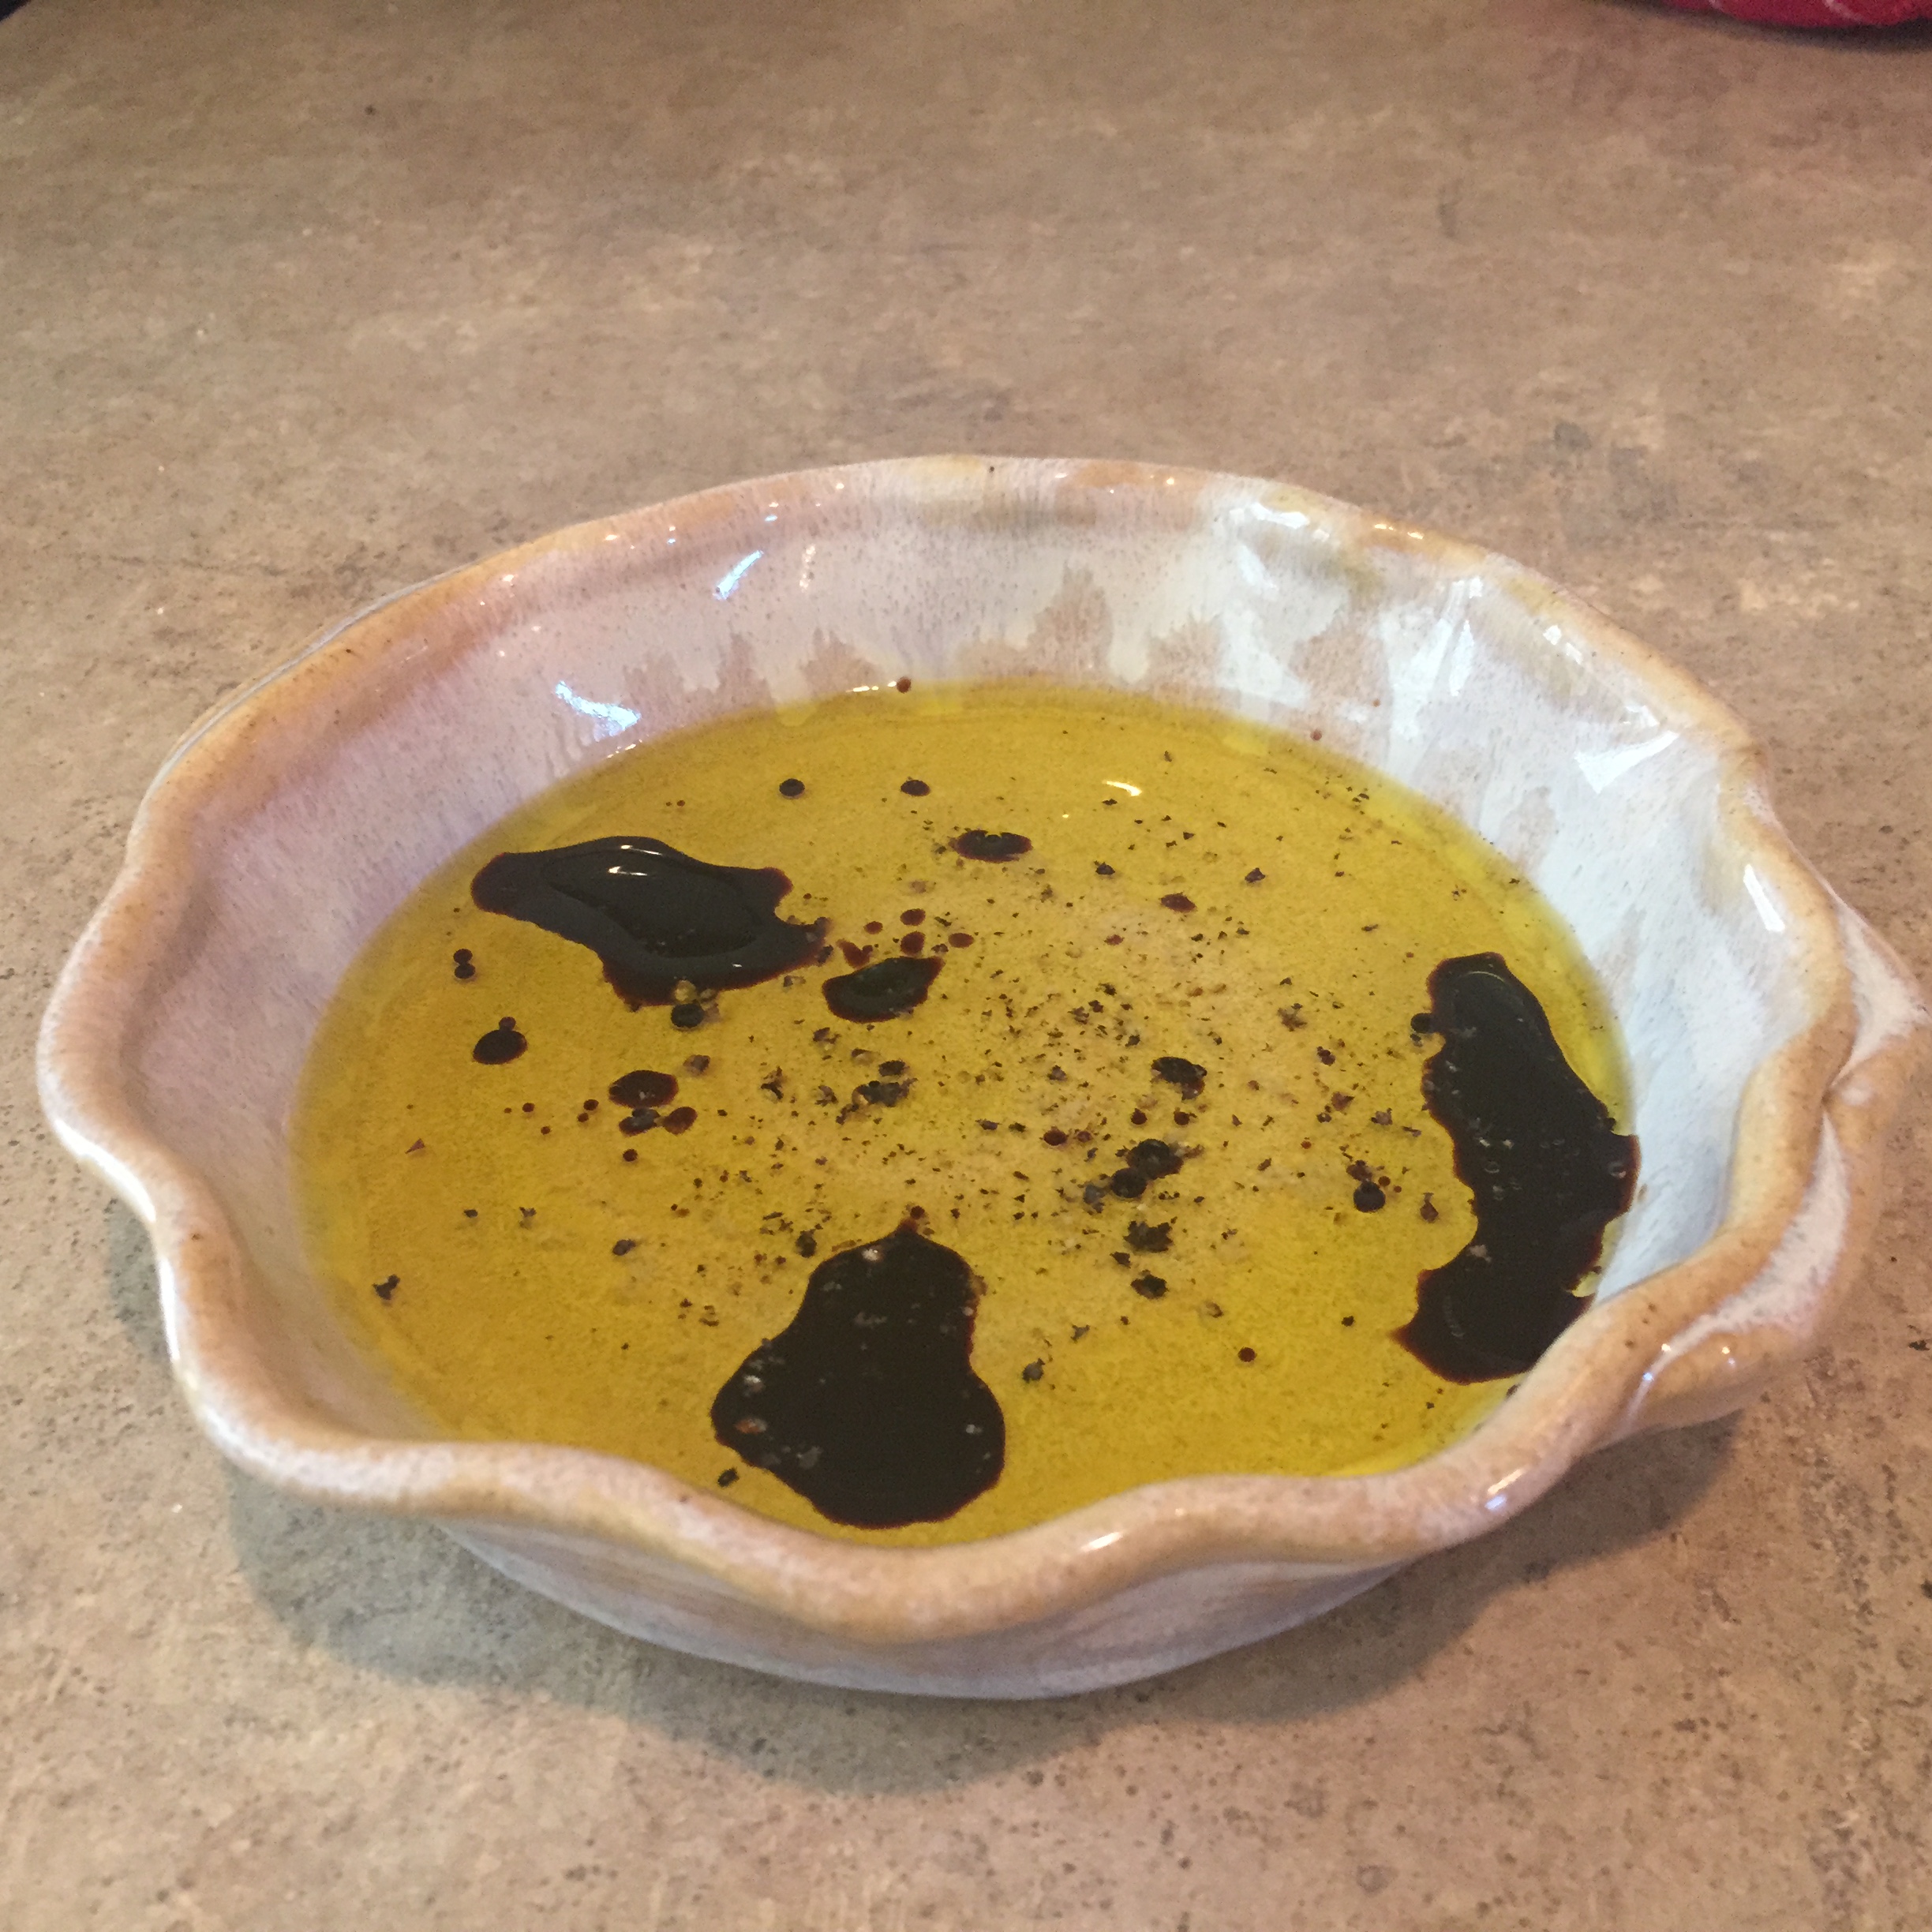
This oil and vinegar sauce is super simple but so good with this bread! The condensed recipe is included below. Enjoy!
Boule! (with Oil and Vinegar Dip)
Makes two loaves. Recipe can easily be doubled for four loaves.
Ingredients
Bread
- 1.5 cups of lukewarm water (about 100F)
- 3/4 Tbsp instant yeast
- 3/4 Tbsp kosher salt
- 3 1/4 cups bread flour (13 7/8 ounces)
- Cornmeal or coarse rice flour
Dip
- 1/4 cup extra virgin olive oil
- 1 tsp ted wine vinegar or balsamic vinegar
- Pinch kosher salt
- Grind of freshly ground black pepper
Instructions
Bread
- Add water, yeast, and salt to stand mixer with paddle attachment and mix together until smooth.
- Add flour and mix until just incorporated. Change paddle to dough hook and mix until uniform (about 10 – 15 seconds). You do not need to knead this dough and it should be a bit craggy or lumpy.
- Transfer into an oiled bowl. Cover the bowl with a kitchen towel and put somewhere that is dark and warm (not hot though). I put mine on the warming element of my stove on its lowest heat setting. Let rise for two hours or until the dough starts to flatten or collapse.
- Transfer bowl to refrigerator and let rise for at least three hours or overnight. The dough is good in the refrigerator for up to two weeks.
- Prepare pizza peel and baking stone liberally with cornmeal (or just a baking sheet with parchment paper).
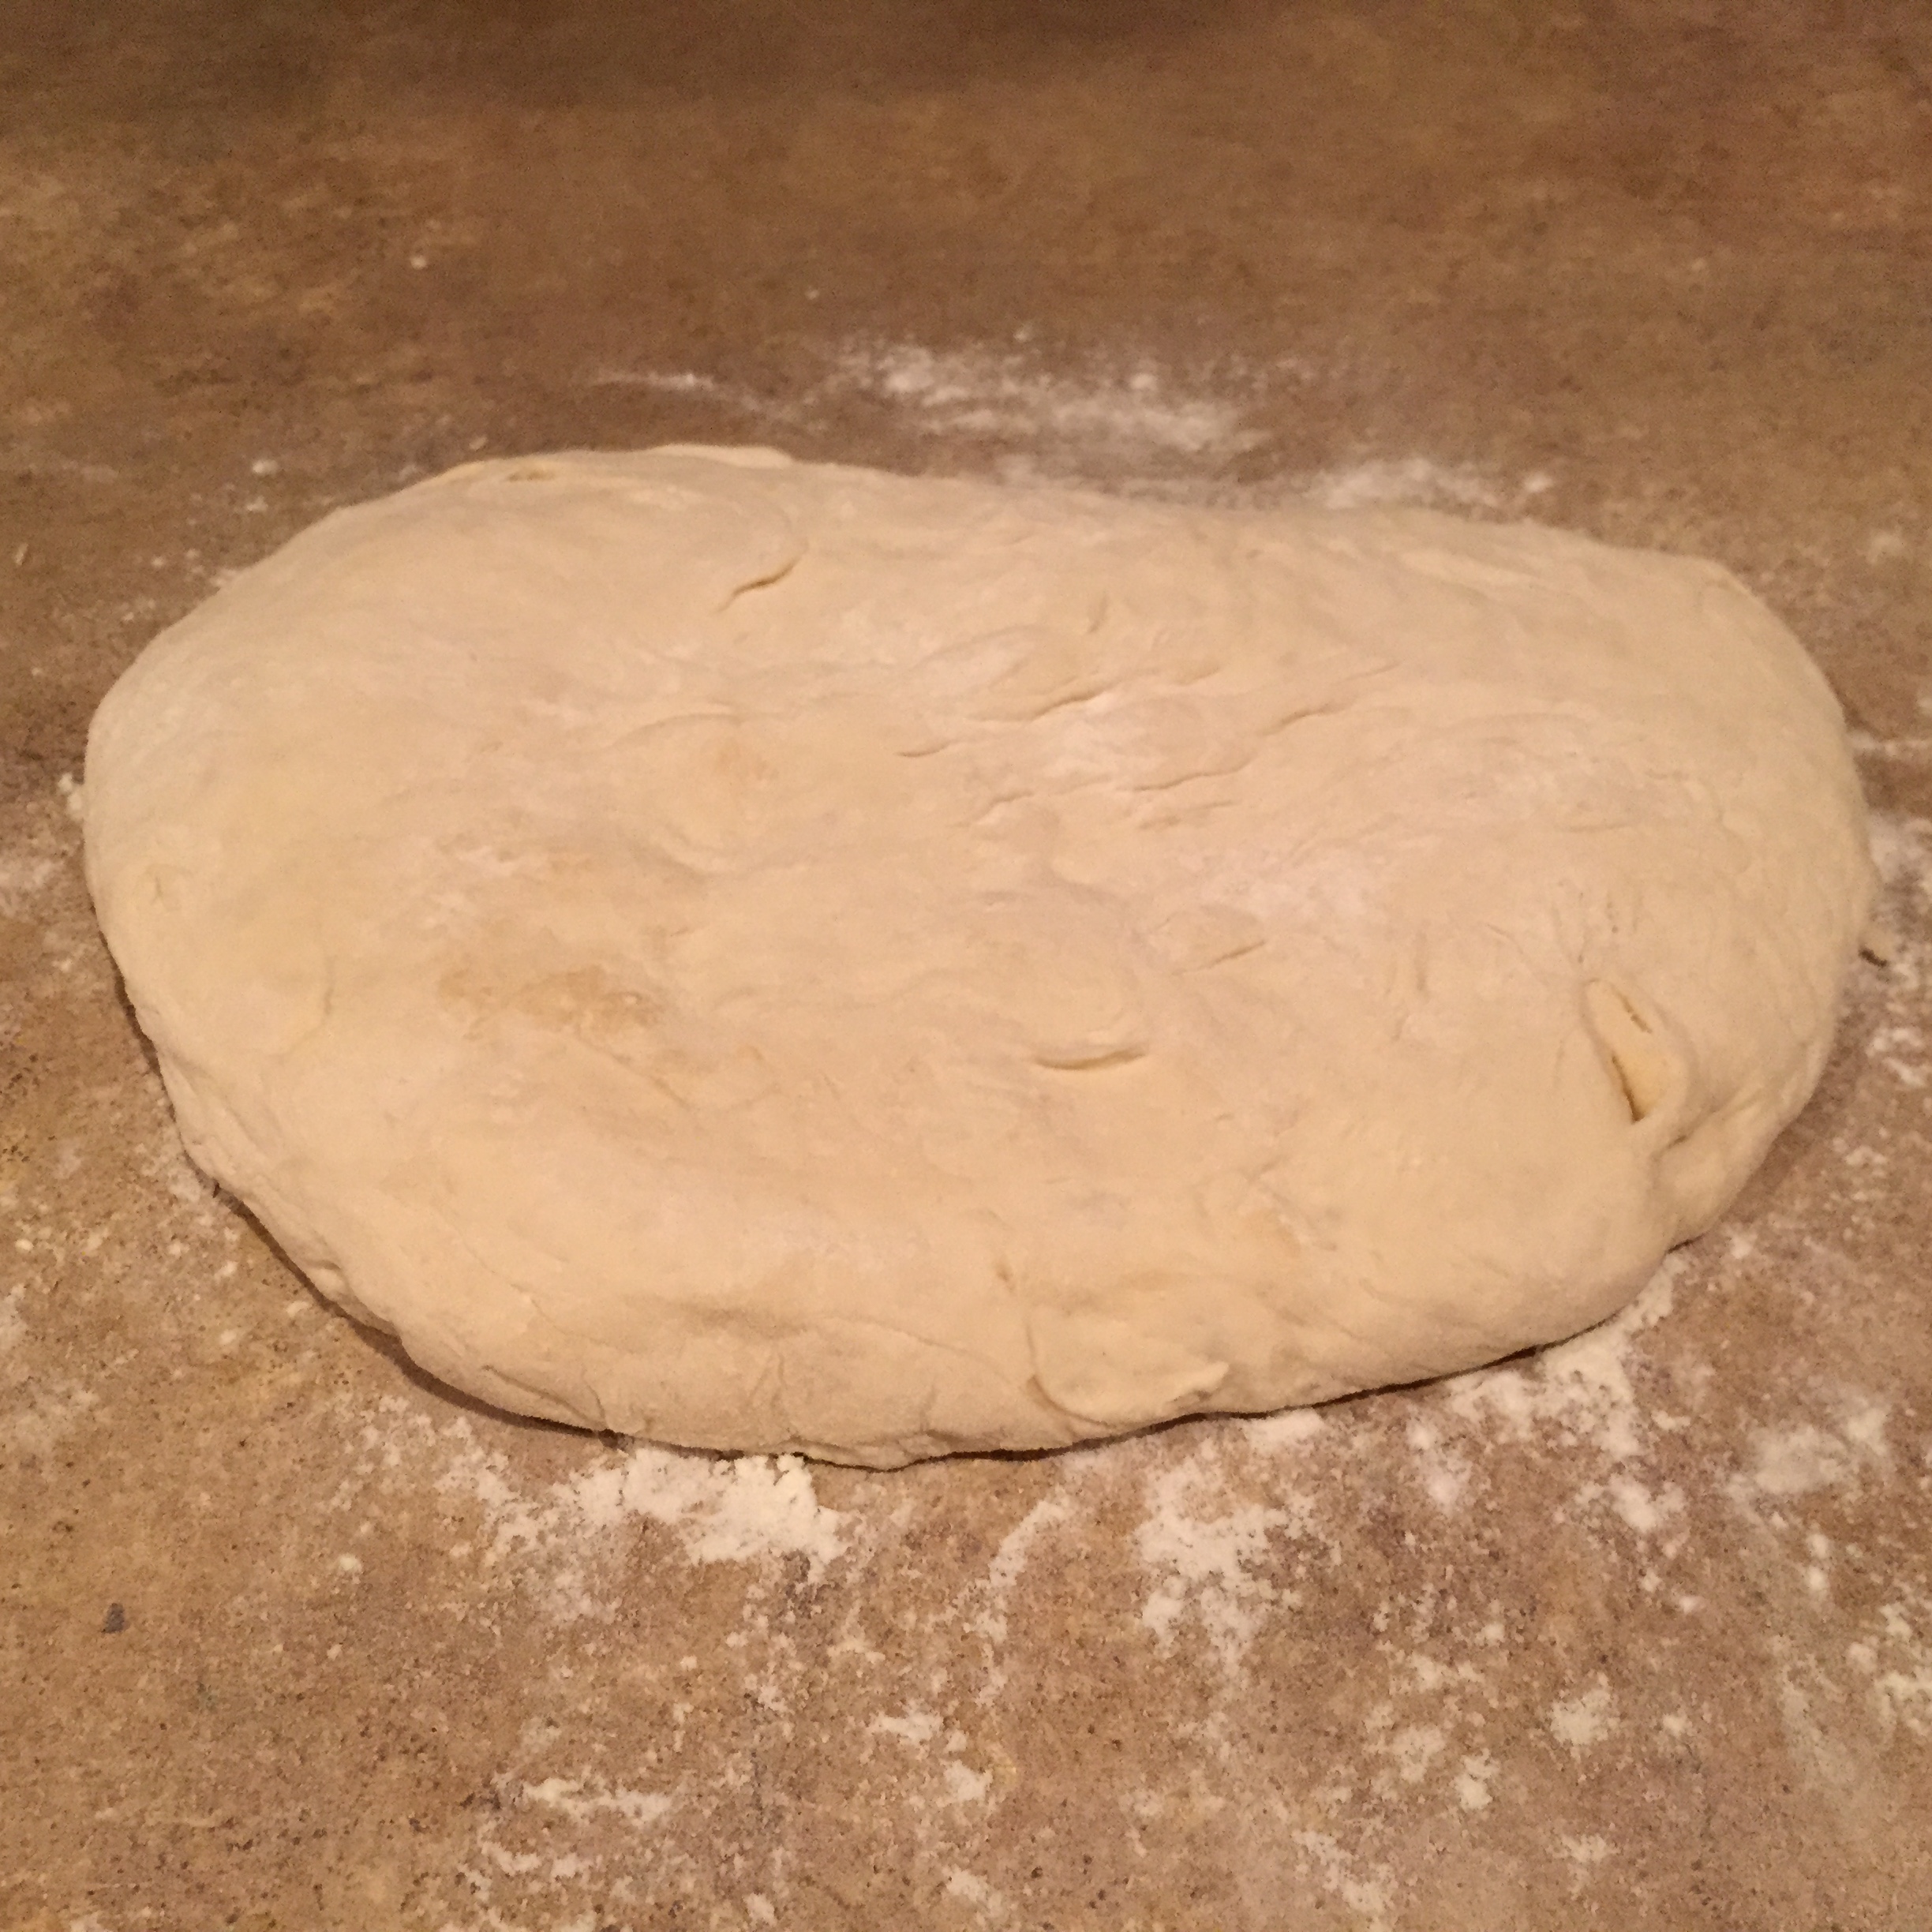
- Pull dough out of refrigerator and dust top of bowl with flour. Place the dough on a well floured surface and divide in half.
- Working with one half at a time, turn the dough around in your hands stretching the top around the bottom and adding flour as necessary so it’s not sticky. This should make it where the top is nice and smooth and the imperfections are on the bottom. Make sure the bottom of the loaf is well floured. Place the dough on the pizza peel and let rest for 40 minutes.
- Place empty broiler or water tray on bottom rack of the oven (I use a silicon loaf pan). If using baking stone, as soon as bread starts resting, place the stone in middle rack of oven and preheat to 450F. The stone should sit at 450F for 20 minutes before baking bread.
- When ready to bake, dust top of bread with flour. With a serrated knife either slit three parallel slashes across each loaf or a two perpendicular slashes.
- Slide loaves from pizza peel onto stone. Add 1 cup of hot water to broiler pan and close oven quickly so steam doesn’t escape.
- Bake for 30 mins until bread is golden brown. Serve with sauce below if desired. Enjoy!
Dip
- Add olive oil into a good bowl for dipping. Add vinegar over the top.
- Sprinkle salt and pepper above the top.
- Adjust seasonings to taste.
Resources
This recipe was adapted from the links below.
